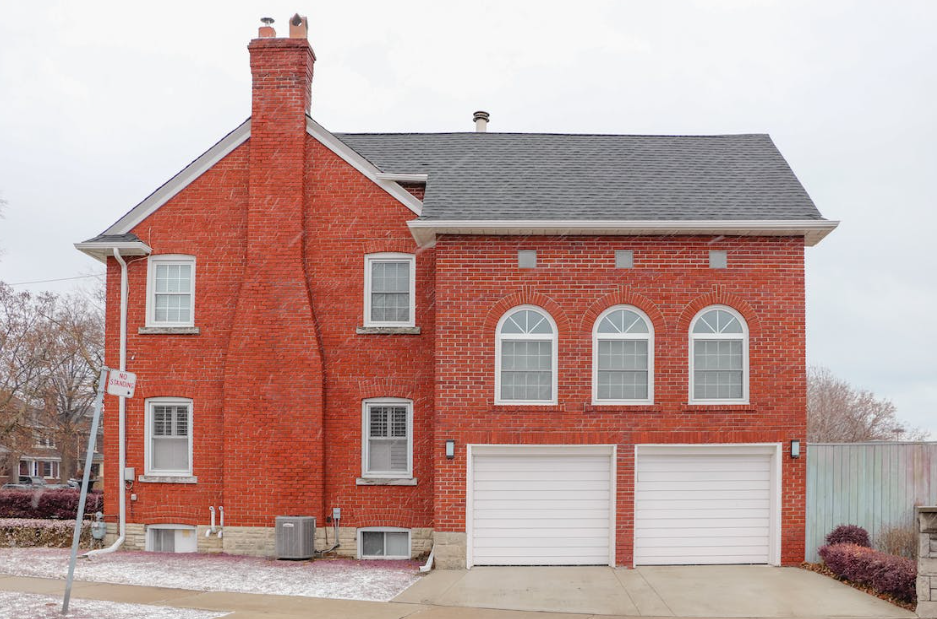
A well-maintained chimney not only adds charm to your home but also plays a crucial role in keeping your living space safe and comfortable. Regular chimney cleaning and inspection are essential to ensure that your fireplace or heating appliance functions efficiently and doesn’t pose any hazards.
In this step-by-step guide, we’ll walk you through the chimney cleaning and inspection process.
Step 1: Gather Your Tools
Before you begin, gather the necessary tools and equipment. You’ll need a chimney brush, extension rods, a flashlight, safety goggles, a dust mask, and a ladder.
Step 2: Prepare Your Workspace
Place drop cloths or plastic sheets around the fireplace or stove to protect your home from soot and debris. Open the damper or flue to create proper ventilation.
Step 3: Start the Inspection
Begin by inspecting the chimney’s exterior. Look for any visible signs of damage, such as cracks in the masonry or loose bricks. Check for vegetation growth, as roots can damage the chimney structure over time.
Step 4: Check the Flue
Use your flashlight to inspect the flue’s interior. Look for creosote buildup, which is a highly flammable substance that can accumulate over time. Creosote should be removed to reduce the risk of chimney fires.
Step 5: Clean the Chimney
Attach the chimney brush to the extension rods and begin cleaning the chimney. Use an up-and-down motion to dislodge creosote and soot. Continue brushing until the flue is clean.
Step 6: Remove Debris
Remove loose debris and soot from the fireplace or stove with a vacuum cleaner. This will help prevent any mess from spreading into your home.
Step 7: Check for Animal Nests
Animals like birds and squirrels often seek refuge in chimneys. Check for nests or obstructions that may have been built inside the chimney. Remove any foreign objects carefully.
Step 8: Inspect the Chimney Cap
Examine the chimney cap for damage or corrosion. It is responsible for keeping out rain, debris, and animals. If it’s damaged, consider replacing it.
Step 9: Reassemble and Test
After cleaning and inspection, reassemble the damper and flue. Test the damper’s operation to ensure it opens and closes correctly.
Step 10: Schedule Professional Inspection
While a DIY inspection and cleaning are valuable, it’s essential to have your chimney professionally inspected at least once a year. A certified chimney sweep can identify signs of internal damage or deterioration.

Chimney cleaning and inspection are vital tasks for homeowners who use fireplaces or heating appliances. By following these steps, you can keep your chimney in good condition, reduce the risk of fires, and ensure that your heating system operates efficiently.
However, remember that safety is paramount. If you are uncomfortable with any aspect of chimney cleaning and inspection, or if you notice damage, hire a professional chimney service in NY.
Contact FH Roofing & Chimney in NY for expert chimney services and ensure your chimney is in top-notch condition.

